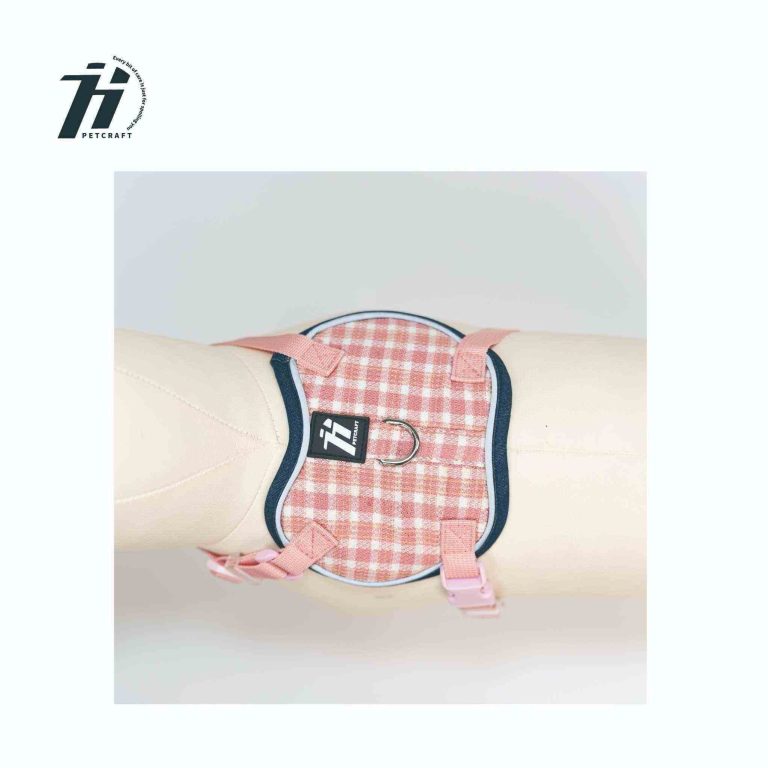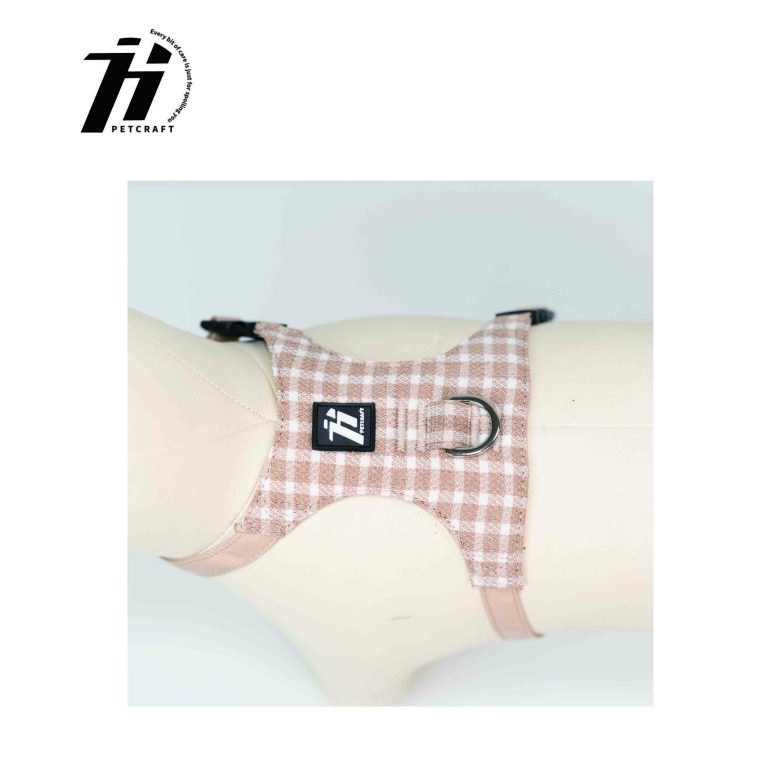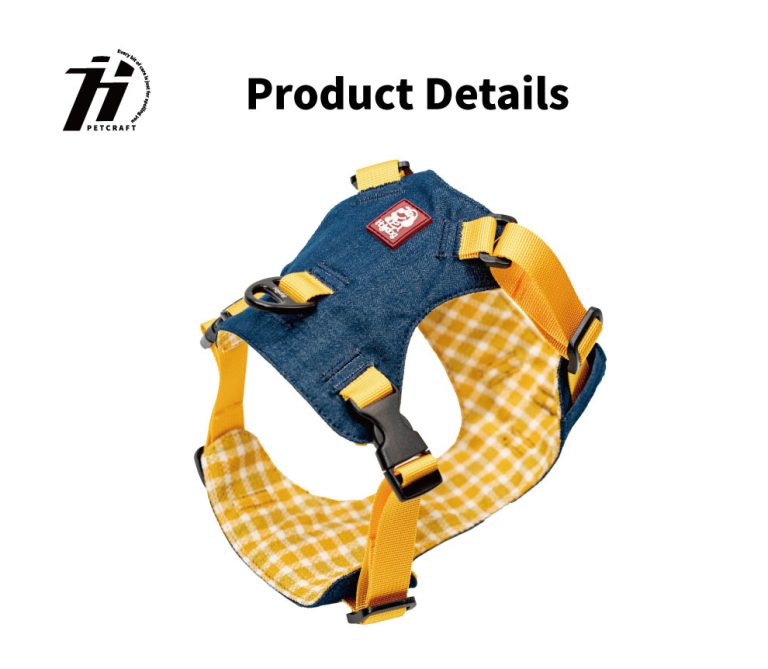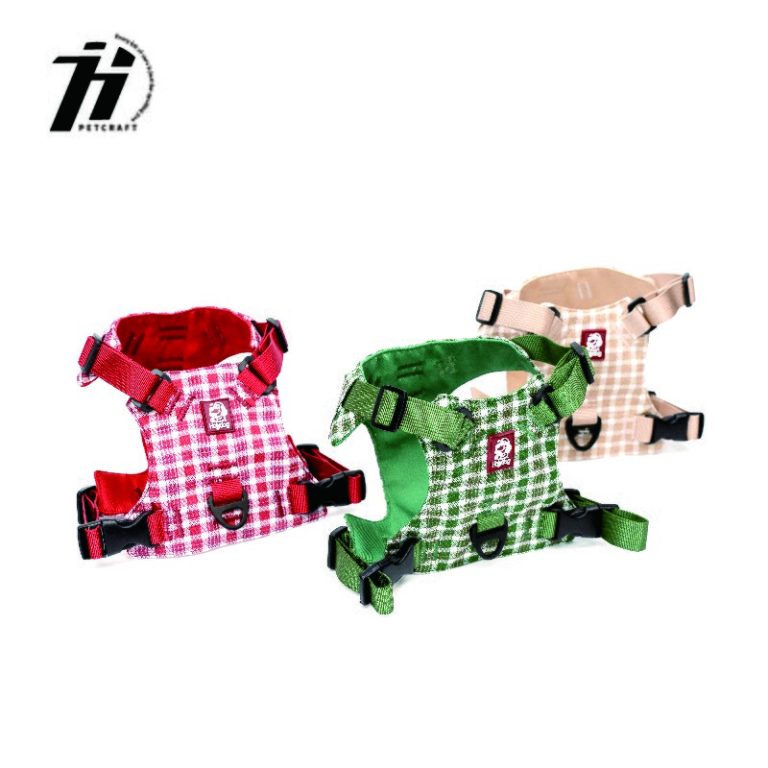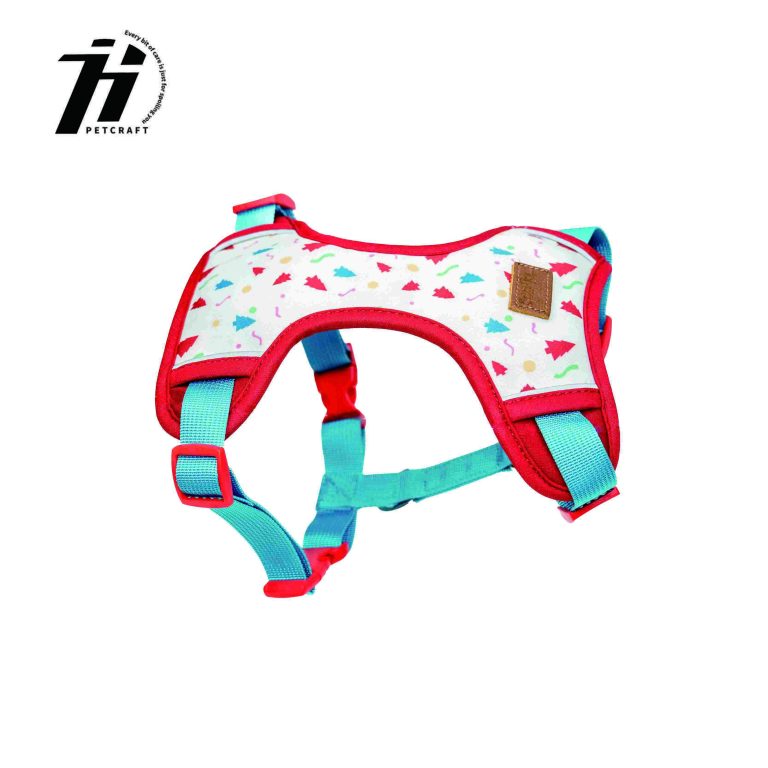
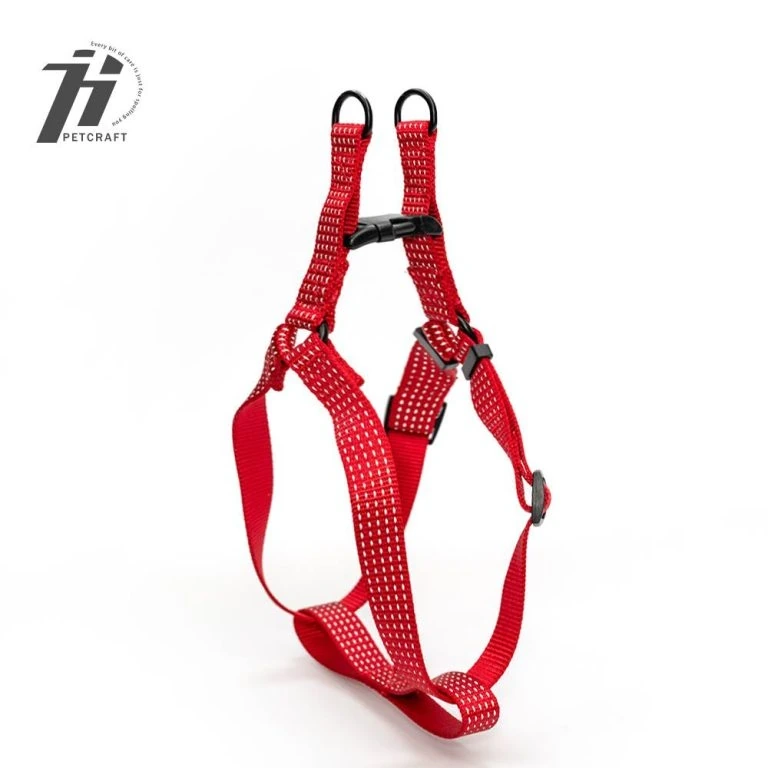
A new harness might look completely flawless when sitting on a meeting table. However, it can easily fail a final launch review. This often happens because a single buckle, D-ring, slider, or logo placement shifts slightly between the initial sample and actual bulk production. When dealing with a private label dog harness, you must remember one crucial thing. You are approving a fully working, dynamic assembly. You are not just looking at a pretty collection of separate parts.
The ultimate reward here is clear. Both the buying brand and its pet harness supplier achieve a mutual, agreed-upon release point. They reach this understanding long before thousands of fabric pieces are ever cut and sewn on the factory floor.
Why does assembled testing matter more than a hardware checklist?
A single buckle or a thick metal D-ring might look incredibly sturdy when resting on its own. Yet, that same component can behave very differently once it gets tightly sewn into a complete harness. Real-world physics come into play here. Thick webbing folds, complex stitch patterns, and specific bartack placements alter everything. Seam allowances, the facing direction of adjusters, and the unpredictable, sudden movements of a dog will drastically change the force path.
Because of these factors, you must start your dog harness hardware testing with a comprehensive bill of materials (BOM). This detailed document needs to clearly name every single buckle, adjuster, and D-ring. It must list every snap hook, reflective strip, woven label, and rubber logo patch. Make sure to carefully record the exact supplier part number. Document the surface finish, exact physical dimensions, and precise color codes. Also, attach the approved sample reference number. Ultimately, this hard list becomes the definitive baseline for any custom dog harness project. It replaces the risky habit of relying on the fading memory of a single busy merchandiser. Relying on memory usually leads to costly mistakes during mass manufacturing.
What should be checked on each component?
When inspecting parts, you need a sharp eye for tiny defects. Specifically, look out for hairline cracks or dangerous sharp edges. Watch for leftover plastic flash from the injection molds. Check for uneven metal plating, noticeably loose internal pins, or a frustratingly weak spring return mechanism. Color variation is another huge red flag to catch early.
You should actively operate side-release plastic buckles and metal snap hooks repeatedly with your own hands. Do this dozens of times. Afterward, check closely to see whether the part still clicks shut fully and securely. As for heavy D-rings and plastic adjusters, you need to confirm a specific detail. Make sure that the nylon or polyester webbing absolutely cannot slip or slide out when placed under the intended, normal adjustment tension. Furthermore, a high-quality private label dog harness frequently includes a custom molded rubber logo. It might feature a highly specific, Pantone-matched custom color. You must approve that branding detail right alongside the functional mechanical part. Doing this ensures the production factory does not mistakenly treat your branding elements as a separate, optional version. Everything must be locked in together as one cohesive unit.
Which webbing and hardware combinations need extra attention?
Rugged outdoor pet products typically utilize incredibly dense webbing paired with heavy-duty metal hardware. However, you must always judge this pair together as a complete, unified assembly. For instance, a heavy-duty outdoor collar and leash construction often uses a specific material. It might rely on 1680D high-density camouflage nylon webbing, matched up with tough zinc-alloy hardware. This specific combination carries a strict reference load limit of at least 100 kg.
You need to remember that this 100 kg reference belongs strictly to this one specific construction type. You should never blindly copy and paste that number over to every single harness design without drafting a brand-new test plan. Every design acts differently under tension. For example, a standard I-beam style pet harness features its own unique alloy buckle reference load. That limit sits at a minimum of 80 kg. The golden rule here is organization. Keep each specific numerical value strictly tied to its named construction style and its designated size range. Mixing these metrics up will cause massive safety failures down the line.
How should a brand plan harness load testing?
A genuinely useful harness load testing protocol must represent reality. It needs to mimic the exact points where a normal dog owner will pull, lift, or restrain their pet. It also needs to cover where they connect a heavy leash. You must test the entire, completed harness. Use the officially approved webbing, the finalized stitching patterns, and the exact production hardware. Also, test it across its full, realistic adjustment range.
Before you begin pulling things apart, clearly define the rules. Specify the exact test direction and the speed of the loading rate. Set the required hold time, decide on a proper sample size, and outline the exact pass/fail conditions in advance. Sometimes, a formal third-party laboratory method or a strict local legal standard applies to your target market. If so, list that requirement directly inside your formal purchase specification sheet. What if your chosen factory provides their own internal reference test? In that case, ask them for a detailed description of their testing fixture. Also, request their specific failure observation notes. You need this deep level of detail so you can accurately compare results between different product revisions later on.
What does a useful test record include?
A reliable testing document captures many small, vital details. You should carefully record the main product code and the exact garment size. Note the specific hardware lot number and the webbing batch lot. Document the precise stitch construction, the maximum test load applied, and the total test duration. Finally, describe the exact failure mode when the item breaks. Taking clear photographs of the testing machine fixture and the broken sample is incredibly helpful. These images assist the buyer in distinguishing a shattered plastic buckle from a ripped seam or torn webbing.
Additionally, a successful passing result should never erase the established boundaries of your initial test. For example, a sample might survive a heavy pull in one specific direction. However, that single success does not automatically prove the harness is safe in every single adjustment setting. It also does not cover every possible consumer misuse scenario. Setting clear, written limits ultimately protects the buying brand from liability. Furthermore, it gives the pet harness supplier a highly practical, measurable target for future product improvements.
How can fit, adjustment, and reflective details be approved together?
Every piece of hardware absolutely has to function flawlessly across the entire body size range promised on the retail packaging. To ensure this, you must physically measure the absolute minimum and maximum adjustments. Check the length of the remaining strap tail after the adjustment is fully tightened. Then, fit the actual harness onto representative dog mannequins or real, living dogs. During this physical fitting, confirm a few key functional points. The leash hook must rotate smoothly and freely without twisting the attached webbing. Meanwhile, the back D-ring needs to stay easily accessible, never burying itself under folds of fabric.
If your design features safety reflective strips, ensure they remain clearly visible after the straps are adjusted. These bright strips should never end up hidden underneath a folded seam or a sewn-in label. Next, lock in the logo sizing, the woven label positioning, the exact pantone colors, and the washing care information. Doing all of this ensures your private label dog harness is truly commercially ready for shelves. It elevates the product beyond simply being mechanically acceptable in a lab.
What should the production-release file contain?
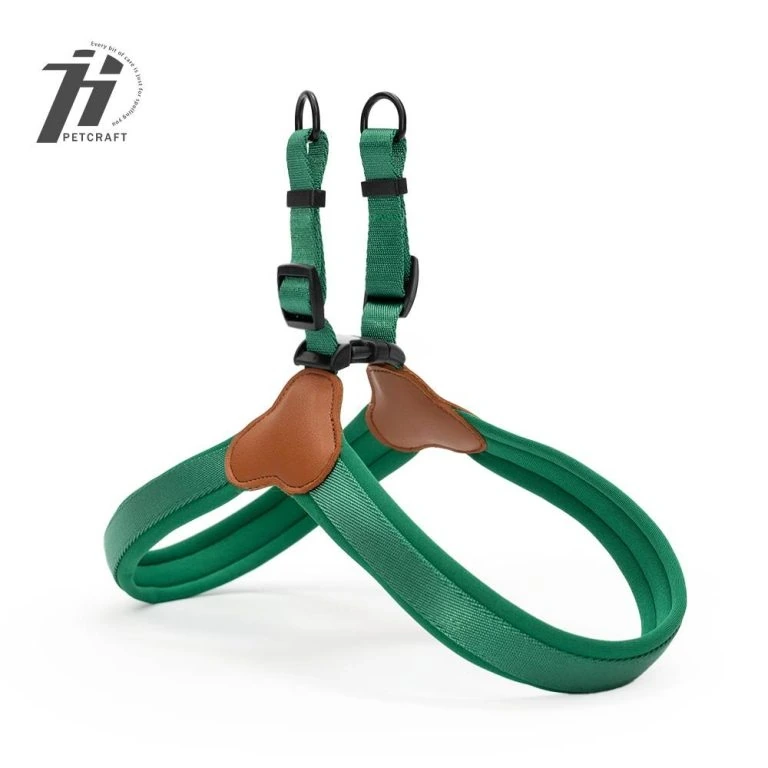
Your master production-release file acts as the project bible. It needs to hold high-resolution photos of the fully approved final sample. It must contain the locked measurement sizing chart and the complete bill of materials. Include all technical hardware drawings or exact supplier part numbers. Store the vector logo artwork, precise color matching references, and the final retail packaging copy. Crucially, attach the absolute latest, passing test record.
How do MOQ and lead time affect the approval plan?
Generally speaking, a custom manufacturing program usually starts with a Minimum Order Quantity (MOQ) of about 500 pieces. The initial physical sample development phase generally takes around 7 to 10 days to finish. Following that, full-scale bulk production typically consumes about 30 to 45 days. This timeline shifts slightly depending on the overall design complexity. You should strategically build your project calendar around specific milestones. Plan one major review session dedicated purely to physical fit and hardware mechanics. Schedule a second, separate review focused entirely on visual branding and retail packaging layout. Finally, lock in a hard date for the ultimate production release sign-off.
To accurately compare different product families, take time to carefully review HolyDog products. Look deeply into their specific OEM and ODM service workflow processes. You can easily confirm the company’s manufacturing capability by reading through the HolyDog about-us information pages. When you are finally ready, confidently send your final testing requirements and production release questions directly through the designated HolyDog contact team.
Questions fréquentes
Q1: Is testing a buckle separately enough for a private-label harness?
A1: No, doing that is definitely not enough. While a loose buckle absolutely should be inspected separately for basic manufacturing flaws, the final passing decision must be broader. The final pass must include the fully assembled harness. It needs to factor in the webbing, the sewn stitches, the full adjustment range, and the specific load direction used during the actual physical test.
Q2: Can the 100 kg reference for outdoor products be used for every harness?
A2: No, you cannot simply copy and paste that number. The 100 kg safety reference is intimately tied to the specified 1680D outdoor collar and leash pull direction. Every single newly designed harness desperately needs its own custom test plan. That plan must perfectly match its unique fabric construction, its targeted size range, and its specific leash connection points.
Q3: When should a brand approve logos and reflective tape?
A3: You should always approve those visual elements on the exact same physical sample used for the fit and hardware review. Do this long before granting a bulk production release. Make sure to record the vector artwork, the exact placement position, the physical dimensions, the color codes, and the nighttime visibility after strap adjustment. Doing this guarantees the production floor cannot interpret your branding loosely or make costly guesses.